Showing posts with label Room Makeovers. Show all posts

Wednesday, October 5, 2011

Transforming the front room~

Our front room was bright and whimsical. This weekend I was ready to make a change. 
I was craving something clean and refreshing.


I had helped my friend Heather hang board and batten trim in her master bedroom and she gave me all of her extra supplies, which was super nice! I loved how her room turned out and wanted to do something similar in my front room.  This weekend The Joe and I celebrated our anniversary. We went to a football game(something he really enjoys) and worked on projects(something I really enjoy). It was a wonderful way to spend time together and make some fun memories!


Here are a couple of the process pics. It was actually a very fast project. We had everything tacked to the walls within an hour and a half. We used 4'' boards for the top and 2'' boards for the battens. We chopped the bottoms of the 2'' boards at a 45 degree angle so they would match the base molding.

To space the boards evenly, we cut 2 board that were 17'' long and held them in between the battens while we tacked them into place. One near the top and one near the bottom. It was really easy and we didn't have to worry about measuring everything!


After saying goodbye to the bright yellow wall and painting everything I felt like the room needed a little something more so I made a shelf to one of the walls.


I was worried that the shelf might hurt the look of the room, but I actually love how it all came together!  


The paint colors are antique white and pebble gray by Glidden.


Before:

After:

It feels much cleaner to me! Just what I was hoping for.
I'd like to add a dark gray throw pillow to the chair and figure out a good window treatment, 
possibly making shutters?? I would love to be able to figure that out!

Tuesday, January 18, 2011

I'll have a blue, blue Laundry Room~

I started out with a blue Laundry room. Blue as in sad. 
Complete with a sorry pile of clothes on the corner. 


The Joe was jumping for joy when I asked him to be included in this project.
He had no desire to spend his day off project-ing, but I could tell that was all just a ruse.
He secretly loved it. 
Ok, that's not true, he was openly annoyed, but helped me anyhow which was very sweet. 

First things first, come up with a plan. One that includes:

*Materials that we already have.
We are having a tight month and can't justify spending money on decorating the Laundry room.

Hmmm...that's fun. A litte challenging, but who am I to back down from a challenge.


We had 4'X4' sheet of bead board, a quarter of a sheet of mdf and a little bit of trim.
Oh, and a 2X2 that The Joe had turned into a device for leveling out the yard last summer.

We cut the mdf down to make a shelf, and saved the extra thin pieces to use for trim.
We hung the shelf by placing 2X2's under the edge, along the wall.


Next comes the beady board that we cut into 1' strips. 
We had to piece it together to make it work, but hey, that's the middle name of this project.


We cut the extra mdf strips to the same width as the mdf shelf and the 2X2 support, 
so it would feel more like one piece when we put it all together.


And then put the piece of trim across the front of the shelf, so you couldn't see the support boards.

Time for putty and paint!
I tried really hard to paint it a light neutral color. Really, I did.
I just couldn't help myself. The color temptation was TOO STRONG.


I love the new blue! 
I wanted to keep it pretty clutter free, so I didn't decorate it very much.


I did have to put up a sign, you know, just incase one of my house guests ever unsuspectingly stumbles into that room and can't figure out where they are.  We wouldn't want that to happen, now would we.


Monday, August 2, 2010

A start on the mudroom~

When we were in process of building our home I had a realization....WAIT, this plan doesn't have a coat closet!! Panic set in as I had visions of coats and backpacks, not to mention snowsuits and gloves all over the house.  I asked the builders if they would make our master closet smaller and move the wall back a few feet by the back door so I could create a mud area.  They charged me a change fee which was stinky, but long term I know it's something that I'll be really glad we did.


To be honest, this space is very exciting for me.  I had a million different daydreams for this area that included bead board, cubbies, a bench, shelves, and hooks.  Unfortunately this little guy had to take the backseat while we worked on finishing the basement and putting in the backyard.  And of course, by the time those projects are all said and done, we are out of cash.  BUMMER! 

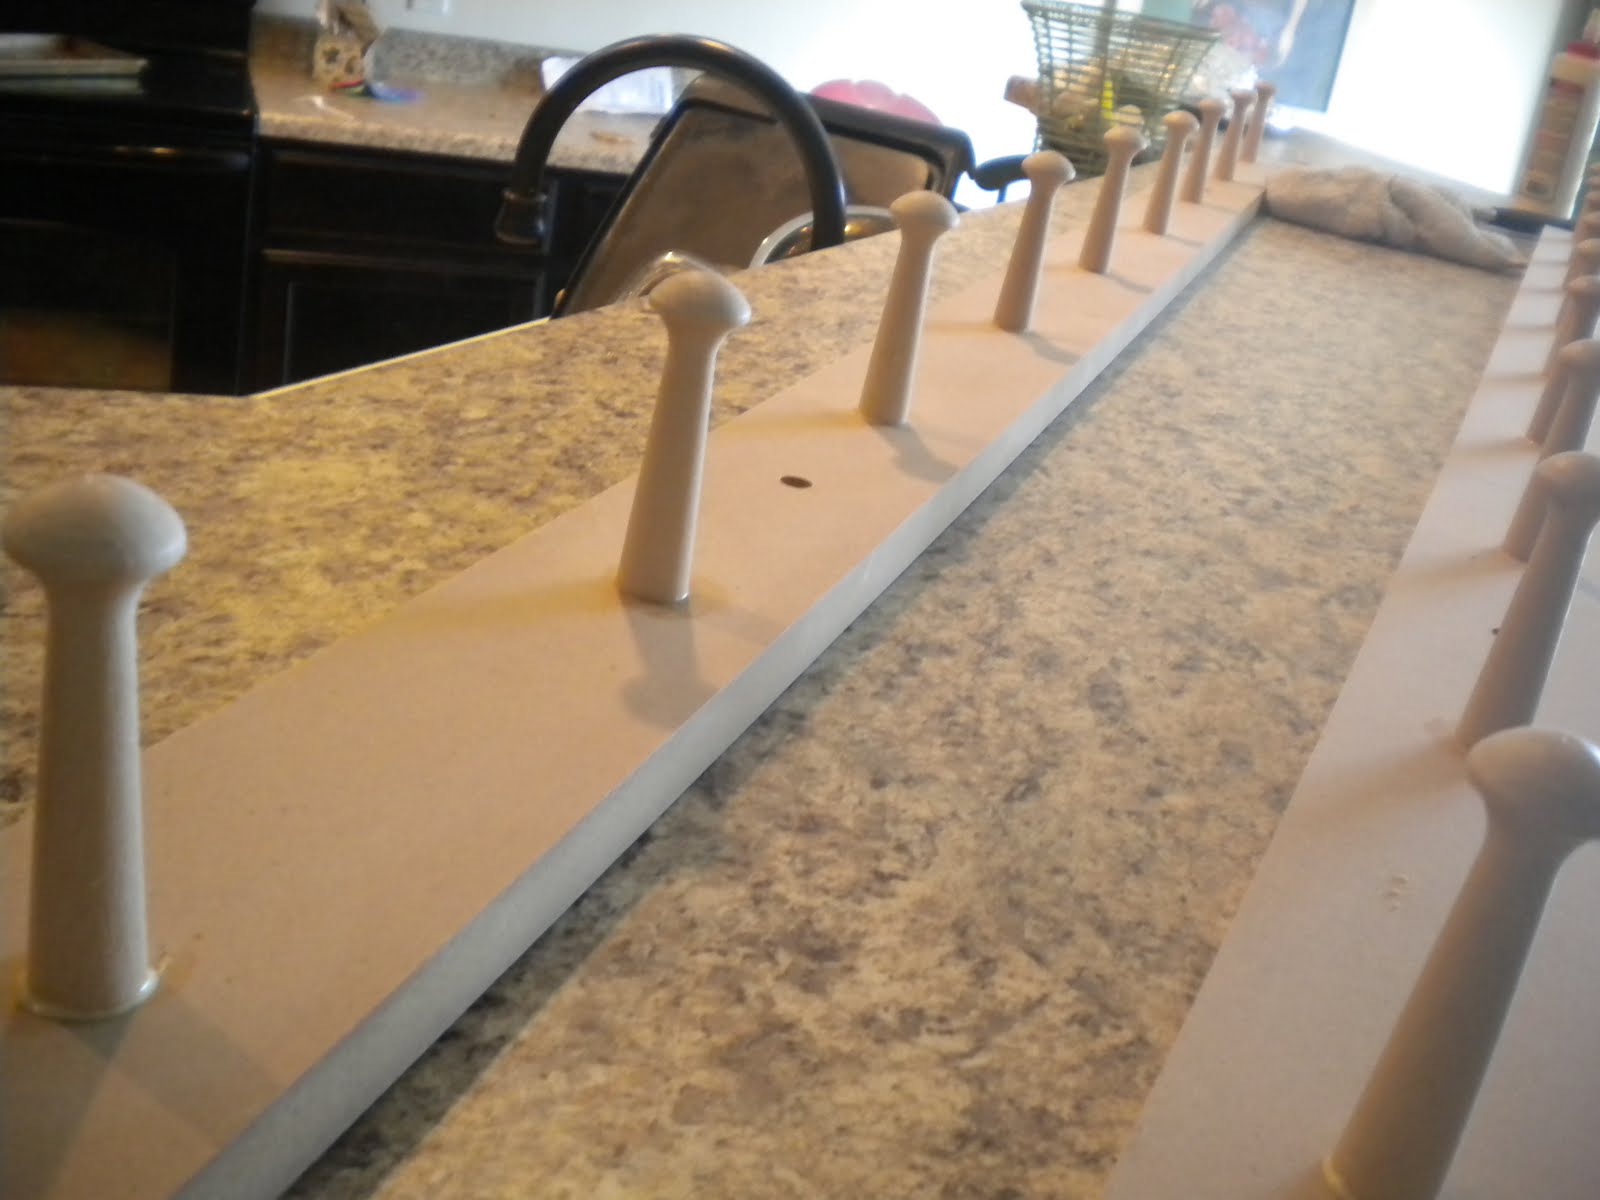
I really didn't want to start the school year without having a place for the kids to hang their schtuff, which meant making pegboards. We had long strips of mdf in the garage and I order shaker pegs by the box load, so I always have some handy. I just love those suckers.  Since I didn't have all of the materials to create shelves and a bench, I at least wanted to paint.  


I had The Joe help me make the vinyl pattern in my head come to life.  He's much better with illustrator than I am, and I wanted the circle pattern to be really uniform.  Thanks darlin!! Before I put it up on the wall he said, " Let me help you get this straight, so you don't end up hating the world".  Ha ha ha...he knows that will totally happen too.  I would definitely suggest having a buddy when putting up large scale vinyl projects.  It can be really frustrating to try and do it by yourself. 


Yay!!! Just like I had pictured in my head!! I don't hate the world at all!

After putting the pegboards together and painting them white, we are ready to roll! I didn't route the edges of the boards. I wanted to leave a flat edge so eventually we'll be able to add a top shelf to put baskets of gloves and hats and all that jazz.  


I have some totes for shoes that I bought at Target when we first moved in, and I had to stick a stool in the corner so the kids can reach the top pegboard.  


Okay, school panic level has dropped down a few notches.  Best of luck with all of your school prep! 

Monday, May 3, 2010

Baby blue pantry....

Hmmm...I wonder what room needs some attention at the Porter house..
Doesn't look like we've only lived here a month, does it?
Chaos of this proportion takes normal people years to accumulate.  


Yep, the natural me is an enemy to my house.  
I have such a strong desire to be organized, but most of the time I guess I forget to mention that to myself.

What are you doing in here paint?!? Besides holding up the Cinnamon Toast Crunch?? My new theory is that if I have to call poison control if someone tries to eat it, it does not belong in the pantry.


Mom and Pop gave me this lovely set of silverware for my b-day in January. I keep thinking that if I open it, they won't be nice and new and shiny anymore...It's this kind of thinking that gets me into trouble.  Open it already and put it where it belongs!!

I was able to find an open cabinet to store this:


once I turned it into this:


Now for a little paint. Is it a waste of time to paint a pantry? Probably. 
It is really quite a bit more blue than it appears.  I promise I didn't paint it the exact same color! 


Yay! I get to put the food back in! I think Mira only ripped the labels off of 10 cans.  Mystery food is so much fun!

Wait..maybe I don't have that much food. Lol.  Did I really have that much crap in there?  


I like buying the bagged cereal because it's cheaper, but it always spills all over the pantry floor.  I'm going to see if I like it better stored in a tote. 


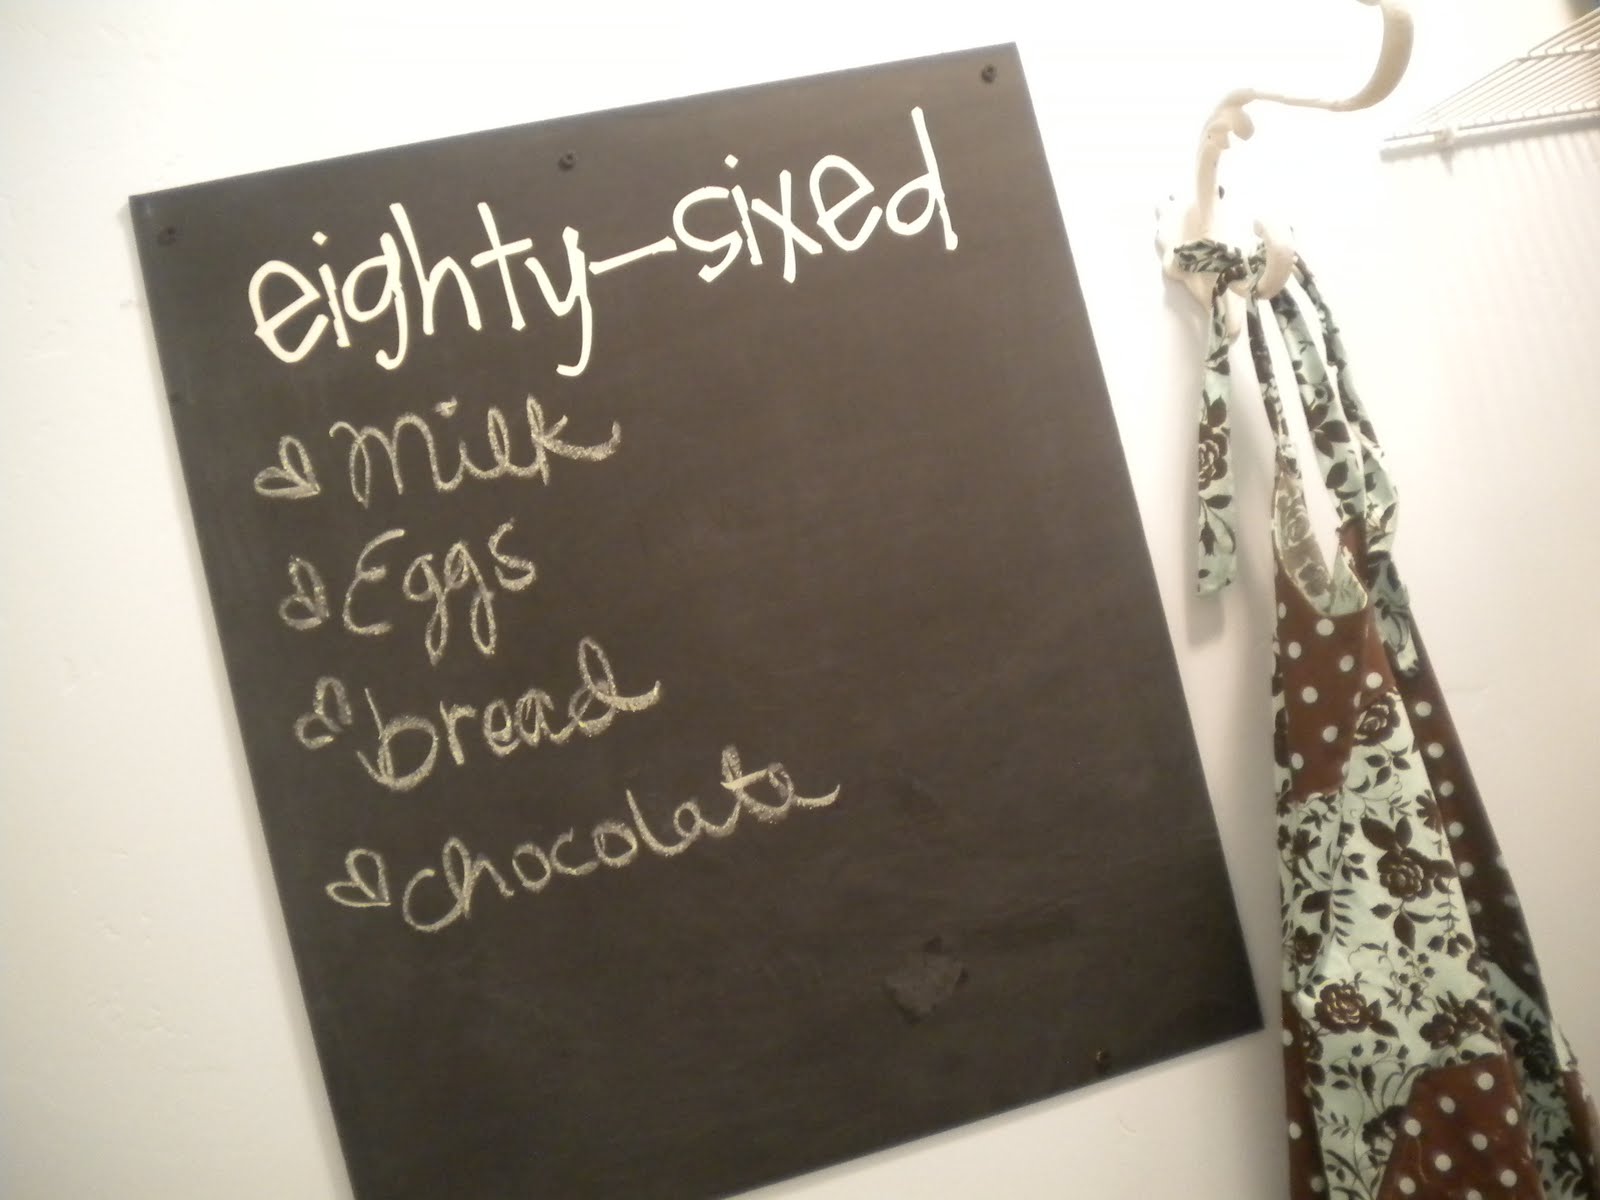
I added a little chalkboard for a shopping list as well as a hook for aprons.  


Before:

After:

Now I should head over to tackle my closet.....  
Yeah, that's not gonna happen today. 

Enjoy your day!
You are worth it!

~Andy

Monday, May 4, 2009

Kids Bathroom


The kids bathroom needed a spoonful of color, so that's what I decided to put on my project agenda for the day. It didn't want to put too much effort into it, but anything would help this sad little empty room. I painted the back wall blue and put up a big green mirror so the kids can see themselves a little more easily. I made some shower curtains out of burlap and ribbon since they don't take showers in there, but I think I may find something more colorful because it still seems to be a little lacking. The kids are excited about it, so I guess that's all that matters!

Tuesday, February 17, 2009

The dark trim debate....

How do you feel about the dark trim?  I did a little bit of studying on the subject and here is what I learned:
  1. Most trim colors are white or off white. Very neutral colors. 
  2. Painting your trim a dark color may be a turn off to potential buyers down the road because people don't like to have to repaint them.
  3. If you are going to paint your trim a dark color, go with a shade that is at least 3 shades darker than your wall color so you will still have contrast.
  4. Dark trim does not show scuff marks as much and clean up could be easier.
  5. Choose a semi-gloss paint for trim for easier clean-up.  
I decided to try something different and paint the trim in my little man's room black.  Here is a shot of the paint...
 This is with some colorful accessories. 


 I found this cute little boat for $5 and I thought it would make a cute bookcase.
 I was going to repaint his magnet board and star peg board, but I decided I liked having more color.
 I was going to hang his airplane that I found at a garage sale for $3, but after going to an earthquake safety class I decided I'd rather not impale my children with huge decorations. I found a nice little place to put it on the floor instead! 
Here is my little man's reaction:
After the painting was done:"I never thought it could look this good!"
When I put up some red decor:"I don't want red in my room!!!"(cry, cry, cry)
After I put up everything else:"I like it!!"  

Thursday, February 5, 2009

Bedroom Switch-a-Roo

I guess I'm not the only one who likes change! The kids are so excited to be able to switch their bedrooms around.  I decided to put the oldest and the youngest girls together and stick Jesty in the nursery and turn it into a boy room.  I have the girls room mostly done. Here's a before shot:  Here is the after picture:  No, I don't decorate my kids rooms around the holidays. It was really a coincidence that it's close to Valentines.  I just happened to have some bright red paint that I got at a garage sale for a quarter last summer.  I used the shelf that I took out of the old laundry room and brought up the dresser I had refinished and was using for art supplies.

  I still need to put handles on it before it can be a functional dresser.  I made a little paper flag to hang across the mirror.  The most expensive part of this transformation.....painting tape.