Showing posts with label Guest Posts. Show all posts

Tuesday, September 13, 2011

Quick fixes for an outdated kitchen~


I'm very excited to have a guest writer today!


 Rachel from re.SOLVE Interior Design Studio is here to give us some great tips about how we can dress up a boring outdated kitchen!  Please give her a warm welcome! 
  
Take it away Rachel:

Not all of us are Do-it-yourselfers. So, while we save up our cash for the dream remodel there are some quick and easy fix-ups.

 1. Cabinet knobs and pulls are to a kitchen what jewelry is to your every day casual outfit. What better way to dress up a t-shirt and jeans than to throw on a glamorous necklace?  
   
                                              
 There are several considerations to make when purchasing new hardware for an already adorned kitchen. Take a look at your existing hardware. Are they knobs (one hole in the drawer/door) or pulls (held on by two screws- two holes)? I am not going to tell you stories, pulls are not the easiest to replace. When replacing a pull, I suggest bringing your existing piece to the hardware store and ask for assistance. Measuring the distance between the holes can be trickier than expected and the specialist can show you what pieces will work best. I also recommend that you consider that future remodel that you may be saving up for. Can you reuse the hardware for your new cabinets? Will the style fit? While you may only be doing a     temporary touch-up, this is a good time to dream of the whole picture! 


2. While you may have heard it before, paint is a fantastic way to give any old space new life. Brighten up the space with a creamy white or light neutral color. Bring some life into the space by choosing a small accent area and painting it your favorite bold color. I have a bathroom in my own home with outdated bright aqua counters, and to top it off, they are trimmed in gold! The walls and cabinets were peach (ouch). To modernize the space until I was ready for a remodel, we painted the walls French grey with white trim. We painted the cabinets a dark, coffee brown. Now, the crazy blue and gold counters… okay they aren't gorgeous, but it's not nearly the eyesore it used to be! For kitchens, choose an eggshell finish so that your painted surfaces are easy to clean.


3. Another quick fix is to clean off those counters. Nothing makes a kitchen look small and congested like nick-nacks and small appliances filling up every flat surface. Try a magnetic knife holder for the wall to get the knife block off the counter. Store items that are not used daily in lower cabinets. Nothing gives a kitchen a "new" look like stainless steel. Try a metal container for those wooden spoons and dish sponges. This clean up is something that may need to be repeated from time to time. I just moved my cute spinning spice rack to my pantry after realizing that I only use it every few days, and it usually accompanies a trip to the pantry anyway. While it may be made for the counter, that doesn't necessarily mean it has to stay there and use your preparation space and sanity!

4. Paint your appliances. The first image that came to my mind was an white and light grey dated kitchen with white appliances. Why let those boring white appliances blend with the rest of the space, dragging it down? My make-believe kitchen received bright apple green paint on the appliances, for a look that has a fun and retro twist.

5. Lastly, open up an outdated space with outdated cabinets by removing the doors from your upper cabinets! This is not for the cook with cluttered upper cabinets, but for someone who has a nice looking set of dishes and is ready to have them on display. I also recommend this solution to those who move through their dishes regularly. We wouldn't want to exhibit settling dust and cobwebs.

{{Thanks Rachel!! It's been a pleasure having you!}}  

To see Rachel's work and get more of her fabulous ideas, hop on over to:


Wednesday, June 2, 2010

Home Tour by My Dream Canvas

Hey everyone, I'd like you to meet Anu! She's written a guest post home tour for us!  She has a great style and it's been a pleasure getting to know her!

Welcome Home...I am Anu, currently a full time mom with a passion for home interiors and travel. My Dream Canvas is my foray into the blogging world. My home is a canvas to bring my everyday thoughts to life, and an outlet for my creative energy. I am also an avid photographer. My main interest lies in landscape photography. I am currently working on a photography portfolio which should be online soon.

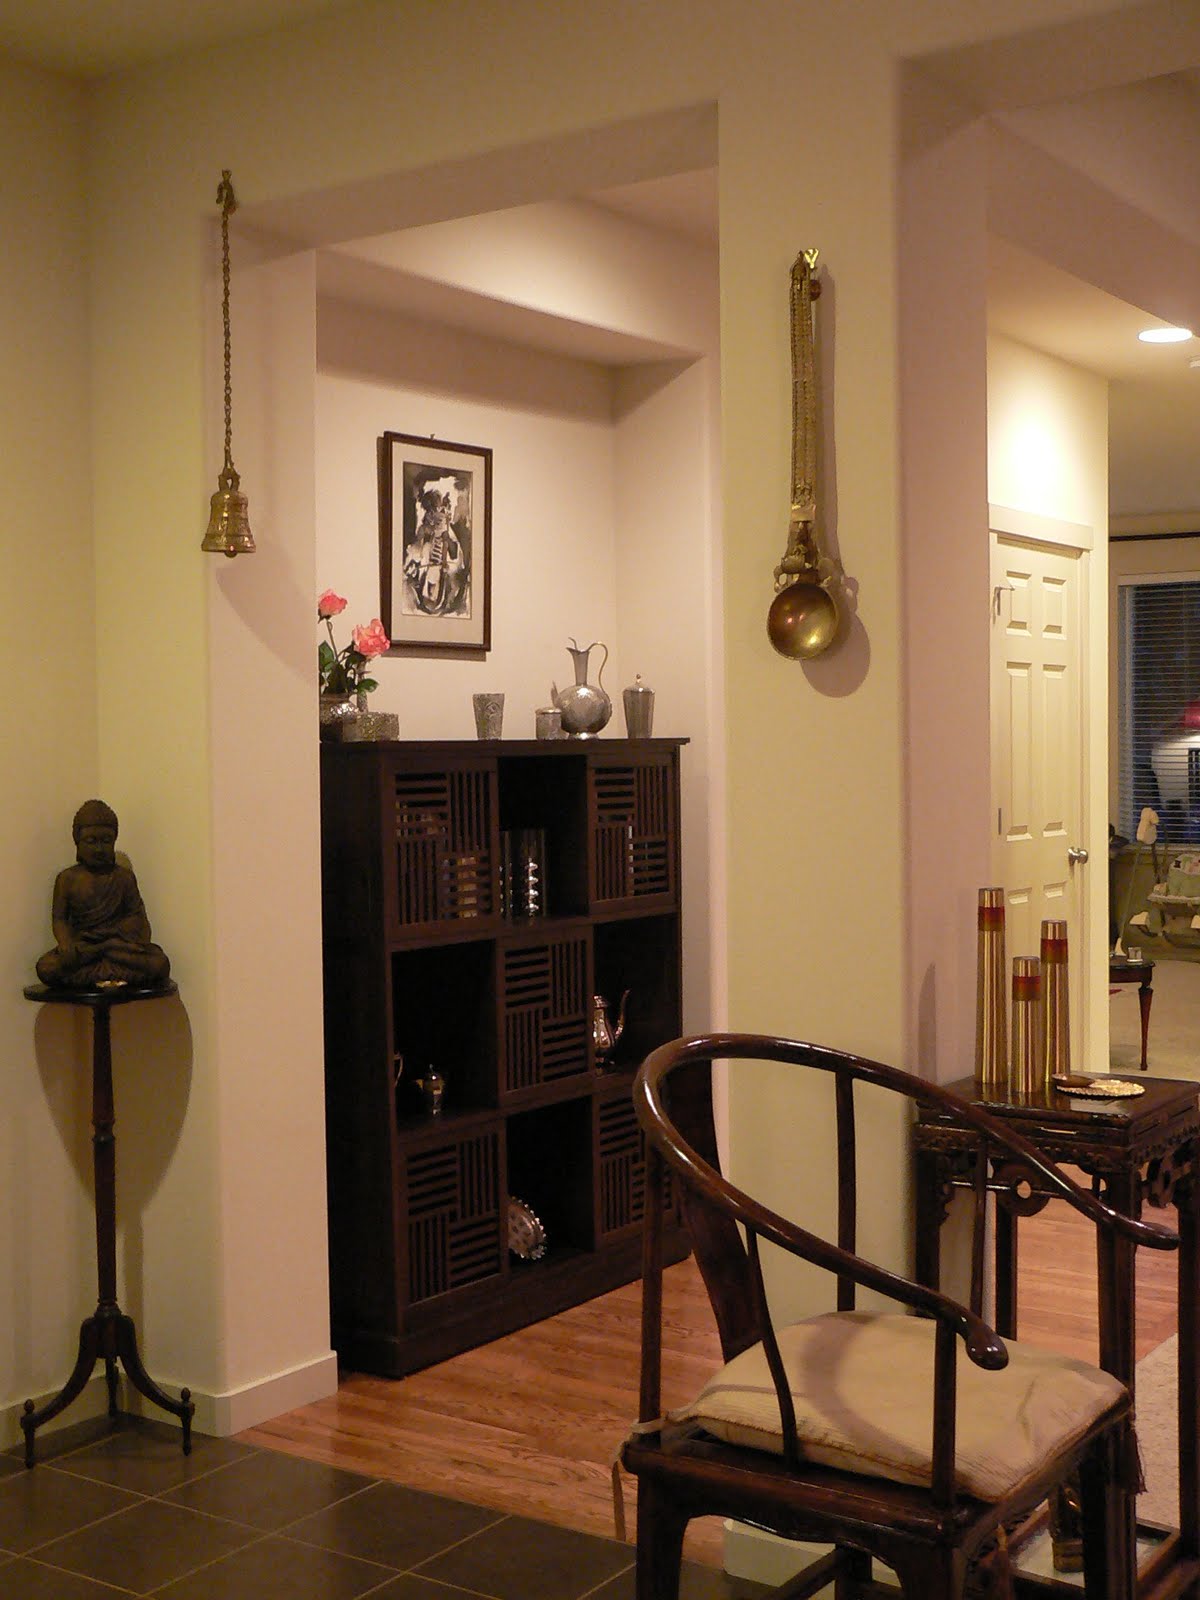
To be honest, I do not follow a particular decorating style or theme. I would probably call my style eclectic. It is simply a reflection of my personality :-) A lot of the pieces in my home are a fusion of family heirlooms and mementos from our travels. My home is tapestry of different styles. I like the fact that I have a collection of Murano glass from Italy, Bohemian crystal from the Czech Republic, pottery from Mexico and Spain, knick knacks from flea markets and antique stores, furniture from the Far East, and artifacts from India. They all complement each other.

I believe that your style should be your own. Experiment, create, be yourself, and just have fun :-)

Do step into my world and my life......


I love flowers and they are an essential part of my home!


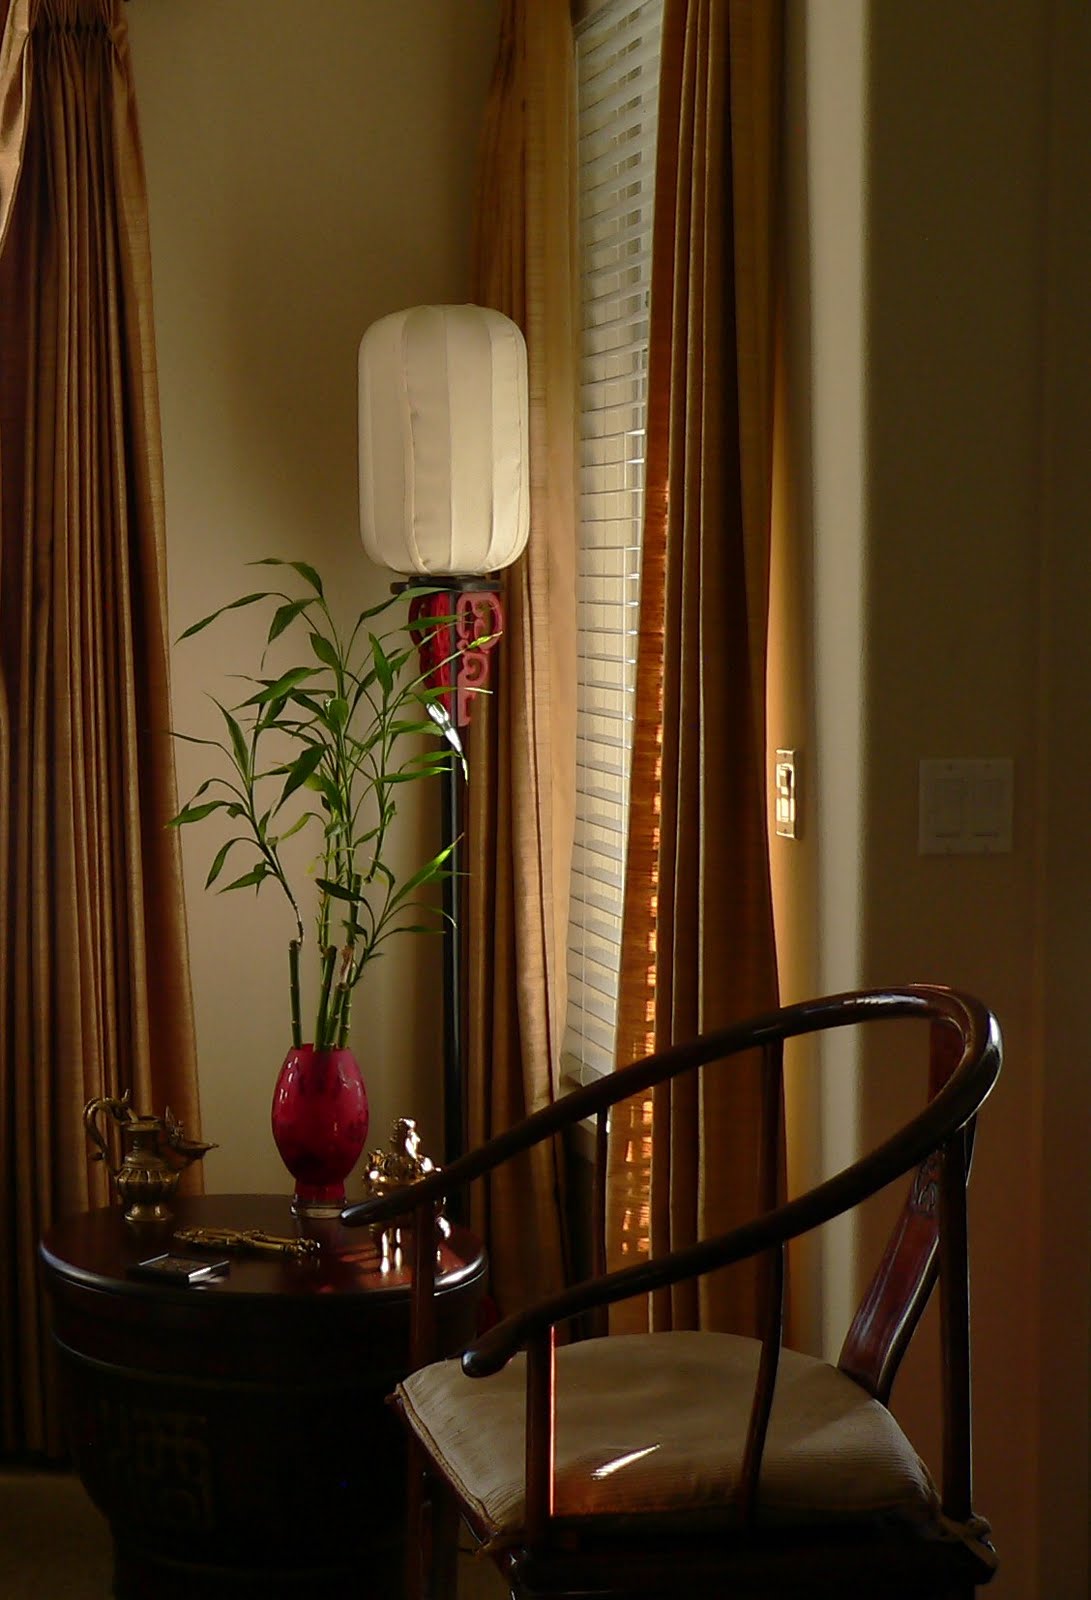
My favorite corner for a morning cup of tea ..


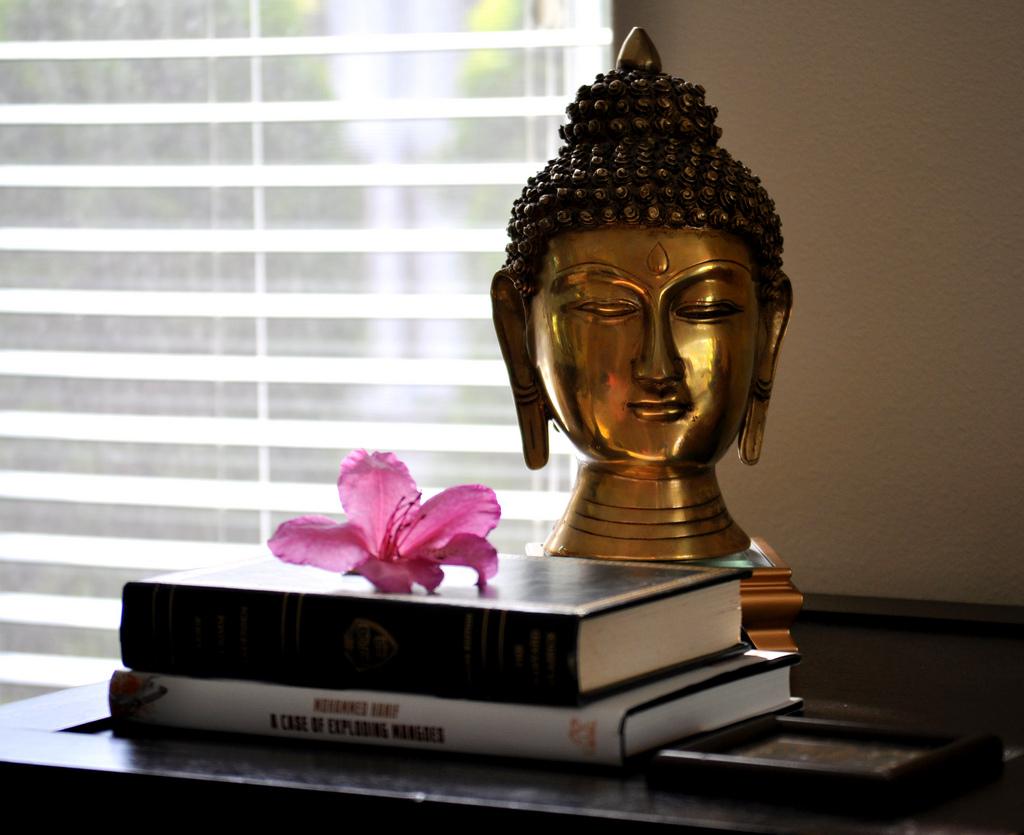
I love collecting Buddha statues..


I like to entertain and this was taken at a Christmas dinner a few years ago.


Do visit me at my blog My Dream Canvas as I love to share ideas and make new friends:-)


Thanks Anu! You have a gorgeous home! You've been so kind to put together such a lovely tour for us! 
~Wishing you all the best!!
XOXO,
Andy

Monday, May 10, 2010

Home Tour by {RE}Cycled

Hey everyone!!  Meet Amanda from {RE}Cycled!  It was really super sweet of her to give us a tour of her home, so be extra generous with the comment love, and pop over and check out her site!!

Hi, I'm visiting from


My name is Amanda and I own {RE}Cycled consign and design. I often get asked what my house looks like so today you get an exclusive tour. 


I think the entry of a home should speak of the people that live there, and I love what ours says! I found this ceiling medallion at a garage sell for $5.00, a little mocha spray paint and gold leafing and it was perfect. My amazing husband made me this shelf and bench for my birthday. My Mom made the cushion. They were the best presents ever!!!


My living room has taken its time evolving, great rooms don't just happen they need time! but its almost there. I got the cream Zgallery couch in a classified add for $300, it was a steal! The art is a vintage wall paper I found at a thrift store and had it mounted and framed. It has gold leafing and a flock damask print, really beautiful.


My most favorite room in the house is my Master Bedroom, I think it is the perfect mix of feminine and masculine touches. I love monogrammed sheets, so I just bought a set of target sheets and had them monogrammed for $12.00. The art above the bed is made from a branch I sprayed cream and added crystals from a leftover chandelier and tiny mirrors. It reflects candle light so nicely, and only cost $4.00 to make. Again my hubby framed it out with leftover moldings. The big splurge for the room was the wallpaper. I adore wallpaper and just had to find a place for this one. It's grey with silvery peacock scrolls all over. It makes the room.


My kitchen gets a lot of use so I wanted it to be bold. The color on the wall is called Burnt Carmel by Kwall Paint, it's a very rich orange. Right off the Kitchen is my Dinning Room, I striped the walls in here with a metallic brown paint. The drapes were a upholstery fabric I
 bought for $2.00 a yard!


Now for the best hangout spot in the house......our Family Room. This room took a lot of planning, my favorite feature is the red wall. I saw these 18x18 inch bamboo wall panels at inhabit living and knew they were the inspiration. Make sure to read the directions on how to install them we had to do it twice. ( Men think they are always right). The ottoman was made by my hubby again :) gotta love him! And I found this rug at Home Fabrics for only $100, what a steal. I still have a few things I want to add to the space but it just feels good.


This room is my daughters, we worked on it together. Who knew a 7 year old could be so opinionated! I guess she takes after ME :) We still a few things to do the her yellow wall but there are never enough hours in the day. Her dressers and bed are mine from my childhood. And the art work on the wall is mostly vinyl and a few random objects. The silhouette's are my grandmothers, mother, and her. Kinda just a fun little family memory. I sewed the pillows and bought the duvet from potterybarn. The little chair I found at a garage sell and recovered it in fabric from another project, it cost only $5.00.


If you are ever in Southern Utah I always have room in our cozy guest room! I just added this vinyl graphic and some comfy bedding. It's amazing how the furniture you had when you got married can look so much more chic if you don't have to sleep on it every night :) 


Most of the accessories I have in my house have come from unique boutiques and consignment shops. I love to hunt for the unexpected. So now that you have seen how I live I hope you will stop by our boutique or blog for more great ideas. Thanks for stopping by.


Thanks so much for the tour Amanda! You have a beautiful home!! Head on over to her site to check out more of her ideas!!!

Wednesday, May 5, 2010

Please welcome Potholes and Pantyhose!


Meet Rebekah from:


On any given day you might find me blogging about remodeling one of our rental properties,  shooting a photo session for a client, on the road with my rock 'n roller of a husband, or creating some arts and crap for my home.  I am pretty normal by my own estimation, but no one else agrees with me on that! 

Come visit me and judge for yourself. 

But please be nice,
 I am a delicate flower.
Love-Rebekah

I just love recycling things that I find around the house to decorate my walls. While remodeling, we had a broken mirror that was just going to be tossed out! 

What's a girl to do? 

Make art from it, that's what!
This is the finished product we will be doing together today. The entire piece is about 4 feet wide by 2 1/2 feet tall.


You will need broken or old mirror (pretend that I included the mirror in this picture), a hammer, heavy duty butcher paper or a heavy duty paper bag, gloves, a scrap piece of plywood, liquid nails and a caulk gun.

We chose to paint our plywood glossy white. But you can do whatever you want. I know you will anyways...


Place the mirror in the paper bag or wrap it in the heavy duty butcher paper. Gently tap the mirror with the hammer a few times

Open your bag to see what you’ve won. OOOH! You’ve won a broken mirror. 

How delightful!

Carefully retrieve the pieces of mirror and arrange them on your plywood in whatever pattern you desire. You’ll want several sizes of the mirror chunks-so don’t get overly particular about uniformity.
After you have arranged the mirror pieces to your liking, start liquid nailing those suckers down. You can also use epoxy for the smaller pieces. Make sure you have a system so that you don’t forget a piece. I recommend putting a small square of blue painter’s tape on each piece and removing it when the piece has been glued down. I did not do this, as you can see. Big mistake.
Let dry for 24 hours. Before hanging it, test that you did glue all of the pieces down by gently raising the board up and tilting it. If a piece falls out, don’t worry. Just re-attach with more liquid nails.

We used drywall screws and screwed our piece of plywood straight to the wall. Then I touched up the screw heads with more glossy white paint. You can also attach the mirror to the wall by using two eye hooks and picture hanging wire.

Then, stand back and enjoy. 
You are sure to get some ooh’s and ahh’s from this little piece ‘o work!

If you'd like to see what other fun projects Rebekah is working on, head over to


Potholes and Pantyhose


Rebekah has also agreed to give us a home tour!
Click HERE to see her home!


Thanks so much Rebekah for the tour and tutorial! 

Tuesday, May 4, 2010

Lil' People Birthday Chart(Guest post from A Little Bit of This..A Little Bit of That)

Hi, I'm Valerie and I'm addicted to Poppies at Play.

Your Turn: Hi, Valerie.

Okay, so I'm a lil' goofy, but kidding aside. Aren't we all addicts? I love visiting Poppies, there is creativity ooozing all over. And Fridays, there's a downpour of creativity. I am very honored to be featured here today.

This is me. This is me on a day that I actually did my hair and makeup. You can probably find me during the week with my hair pulled up in a pony and no makeup at all. Who has time, when there are projects to be had and kids to take care of? Right, ladies? Can I get an Amen?
Photobucket

This is my family. Love them. Addicted to them.
Photobucket

When, I'm not taking care of kids or doing other projects, I like to do a little of this:


Photobucket

Let's get started on today's project, shall we?

Lil' People Birthday Chart
Photobucket

What you need:

Little gingerbread men. I got mine online at Hobby Lobby.
Photobucket

Hooks and Eyes
Photobucket

Board and vinyl lettering
Photobucket

Getting started:
1. Paint your little gingerbread men/women. I color coded them according to family.
Photobucket

2. Play around with them because you can't resist. Lil' people dominoes was my favorite!
Photobucket

Photobucket

3. Drill holes in the tops and yes, I must say this, in the bottoms of your lil' people. At this point, you may be attached but I can tell you that no lil' people were hurt in the making of this project, no matter how realistic the picture below is.
Photobucket
No harm done. See? Still smiling.
Photobucket

After screwing the hooks and eyes in, make sure you put some on the birthday board.

Finishing Up:

And now, the funnest part. . .putting the lil' people on.
Photobucket

I love it. It's amazing how accurate I was in creating them. Doesn't this look exactly like Andy?
Why do I have Andy on my birthday chart, you ask? It's part of my addiction to Poppies at Play.
Just kidding. We're related. Our husbands are brothers.
Photobucket

Now, I can continue my quest in becoming the best aunt in the world because I will never forget a birthday!

Thanks for having me here today. You can visit me here.

Thanks so much Valerie for being our guest today! When you visit:
you'll see she really is good at a million different things. Valerie used to teach school and preschool, so if you are needing some great games and learning activities, it's the perfect place to find them! Like this
She recently moved into her home and you'll often find fun projects she's doing around the house such as


Learn how to make


She's also an amazing photographer:


Make sure and stop by and see her blog! And give her a big "HELLO"!